Custom Udon: A Comprehensive Guide To Personalized Udon Making
Imagine this: You're standing in front of a steaming pot of udon, ready to craft your very own masterpiece. Custom udon is more than just cooking—it’s about creating an experience tailored to your taste buds. Whether you're a seasoned chef or just starting out, personalizing your udon-making journey can be both fun and rewarding. This isn’t just any noodle; it’s YOUR noodle, and that makes all the difference.
So, why should you dive into the world of custom udon? Well, the beauty of personalized udon lies in its flexibility. You can tweak ingredients, adjust thickness, experiment with flavors, and even play around with textures. It's not just about following a recipe—it’s about crafting something unique that reflects your personality. Who wouldn’t want that?
Now, I know what you’re thinking—“Does making custom udon sound intimidating?” Don’t worry, my friend! This guide will walk you through every step of the way. From understanding the basics of udon to mastering the art of customization, we’ve got you covered. Let’s roll up our sleeves and get started!
Read also:Mastering Remote Iot Monitoring With Ssh
Here’s the deal: By the end of this article, you’ll have everything you need to make your own custom udon like a pro. Whether you're looking to impress friends at your next dinner party or simply want to enjoy a bowl of noodles that speaks to your soul, this comprehensive guide is your ultimate companion.
Table of Contents
- What is Udon?
- Benefits of Custom Udon
- Tools for Udon Making
- Ingredients You Need
- Step-by-Step Guide to Making Custom Udon
- Customizing Your Udon
- Exploring Flavor Profiles
- Tips and Tricks for Perfect Udon
- Common Mistakes to Avoid
- Conclusion
What is Udon?
Alright, let’s start with the basics. Udon is a type of Japanese noodle made from wheat flour, salt, and water. These thick, chewy noodles are a staple in Japanese cuisine and are often served in soups, stir-fries, or even cold with dipping sauces. But here’s the kicker: udon isn’t just one thing—it’s incredibly versatile. Depending on how you prepare it, udon can take on a variety of flavors, textures, and presentations.
Traditional udon recipes are great, but why limit yourself when you can create something truly unique? That’s where custom udon comes in. By tweaking the ingredients, cooking methods, and serving styles, you can turn a simple bowl of noodles into a culinary masterpiece. It’s like giving your udon a personal touch—a little extra love that makes it stand out.
Why Udon is Popular Worldwide
Udon has gained massive popularity worldwide because of its simplicity and adaptability. People love it because it’s easy to make, yet it offers endless possibilities for customization. Plus, it’s a healthier alternative to many other types of noodles, especially if you use whole wheat flour or add extra veggies. So whether you’re a health enthusiast or a foodie looking for something new, udon is a great option.
Benefits of Custom Udon
Now that we’ve established what udon is, let’s talk about why custom udon is such a big deal. Here are a few reasons why you should consider making your own personalized udon:
- Control over ingredients: When you make custom udon, you decide exactly what goes into it. No more worrying about hidden additives or preservatives—just pure, fresh ingredients.
- Flavor flexibility: Want to add a spicy kick? How about a hint of sweetness? With custom udon, the flavor possibilities are endless. You can experiment with different herbs, spices, and sauces until you find the perfect combination.
- Texture customization: Some people like their udon thick and chewy, while others prefer it thin and delicate. With custom udon, you can adjust the texture to suit your preferences.
- Creative expression: Cooking is an art, and making custom udon allows you to express your creativity. From the way you shape the noodles to the garnishes you choose, every detail can reflect your personal style.
Tools for Udon Making
Before you dive into the world of custom udon, you’ll need the right tools. Here’s a list of essentials that will make your noodle-making experience smoother:
Read also:Exploring The Influence And Achievements Of Kim Kylie And Kendall
Kitchen Equipment
- Large mixing bowl: You’ll need this for combining your ingredients.
- Rolling pin: A good rolling pin is essential for flattening the dough evenly.
- Cutting board: Use this to cut the noodles into strips.
- Pasta cutter: If you want perfectly uniform noodles, a pasta cutter is a great investment.
- Large pot: You’ll need a big pot to boil the udon noodles.
Optional Tools
If you’re serious about custom udon, you might want to consider these optional tools:
- Pasta machine: This will help you roll out the dough more efficiently.
- Dehydrator: If you want to dry your noodles for future use, a dehydrator can come in handy.
- Silicone mats: These are great for preventing the dough from sticking to your work surface.
Ingredients You Need
Now that you have your tools ready, let’s talk about the ingredients. The beauty of custom udon is that you can use a variety of flours and additives to create your perfect noodle. Here’s a basic list to get you started:
Basic Ingredients
- All-purpose flour: The foundation of your udon dough.
- Salt: Adds flavor and helps the dough hold its shape.
- Water: Binds the ingredients together.
Additives for Customization
Want to take your udon to the next level? Here are some additives you can try:
- Whole wheat flour: Adds fiber and a nutty flavor.
- Matcha powder: Gives your noodles a vibrant green color and a hint of sweetness.
- Spinach juice: Adds a pop of color and a boost of nutrients.
- Sesame oil: Infuses the noodles with a rich, nutty aroma.
Step-by-Step Guide to Making Custom Udon
Alright, let’s get down to business. Here’s a step-by-step guide to making your very own custom udon:
Step 1: Prepare the Dough
Mix your flour, salt, and water in a large bowl until a dough forms. Knead the dough for about 10 minutes until it becomes smooth and elastic. Let it rest for at least 30 minutes to allow the gluten to relax.
Step 2: Roll Out the Dough
Using a rolling pin or pasta machine, roll out the dough until it’s about 1-2 mm thick. Be sure to dust it with flour to prevent sticking.
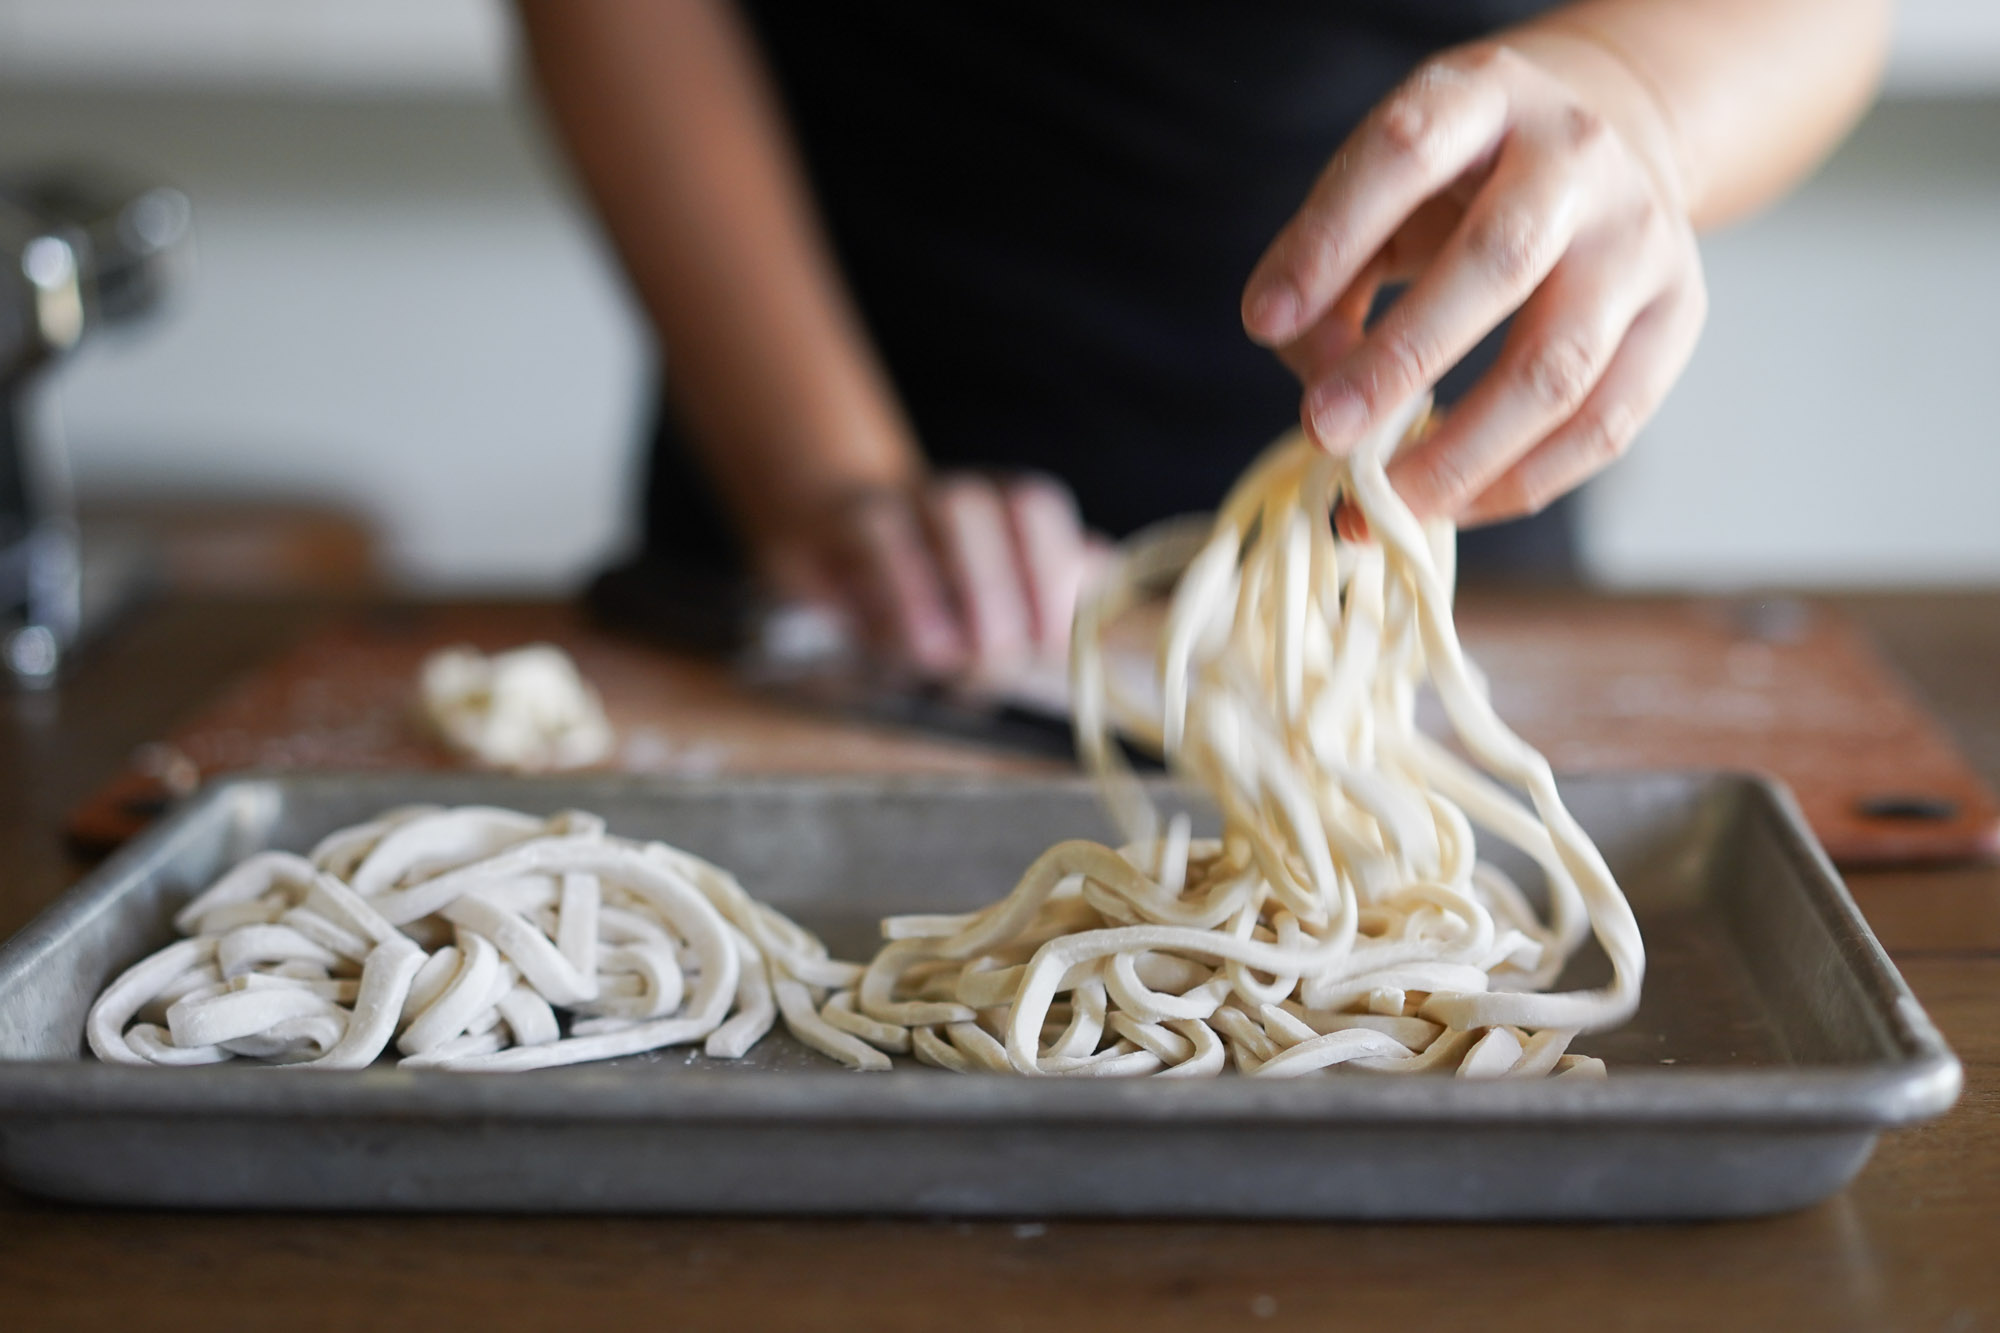
Step 3: Cut the Noodles
Cut the rolled-out dough into thin strips, about 2-3 mm wide. If you’re using a pasta cutter, this step will be a breeze.
Step 4: Cook the Udon
Boil the noodles in a large pot of salted water for about 5-7 minutes, or until they’re cooked to your desired texture. Drain and rinse them under cold water to stop the cooking process.
Customizing Your Udon
Now that you know the basics, it’s time to get creative. Here are a few ideas to help you customize your udon:
Adjusting Texture
Want your udon to be extra chewy? Try adding more flour to the dough. Looking for something lighter? Use less flour and more water. Experiment with different ratios until you find the perfect texture.
Playing with Flavors
Infuse your udon with unique flavors by adding herbs, spices, or even vegetable purees. For example, you could try adding garlic powder for a savory kick or turmeric for a vibrant yellow hue.
Exploring Flavor Profiles
Here’s where the fun really begins. Let’s explore some popular flavor profiles for custom udon:
Spicy Udon
Add red pepper flakes or sriracha to your udon dough for a fiery kick. Serve with a spicy miso broth for an extra punch.
Sweet Udon
Infuse your noodles with honey or brown sugar for a sweet treat. Pair with a creamy peanut sauce for a delicious dessert-style dish.
Herbal Udon
Mix in fresh herbs like basil or parsley for a fragrant twist. Serve with a light broth and fresh vegetables for a refreshing meal.
Tips and Tricks for Perfect Udon
Here are a few tips to help you master the art of custom udon:
- Don’t overwork the dough: Kneading too much can make your noodles tough.
- Let the dough rest: This allows the gluten to relax, making the noodles easier to roll out.
- Experiment with shapes: Try cutting your noodles into different widths or even making them into shapes for a fun presentation.
Common Mistakes to Avoid
Even the best chefs make mistakes sometimes. Here are a few common pitfalls to watch out for:
- Using too much water: This can make your dough sticky and difficult to work with.
- Cooking the noodles for too long: Overcooking can make your udon mushy and unappetizing.
- Not letting the dough rest: Skipping this step can result in tough, chewy noodles.
Conclusion
And there you have it—a comprehensive guide to making custom udon. From understanding the basics to mastering the art of customization, this journey has hopefully inspired you to get creative in the kitchen. Remember, the key to great udon is experimentation. Don’t be afraid to try new things and make mistakes—that’s how you learn!
So, what are you waiting for? Grab your tools, gather your ingredients, and start crafting your very own custom udon. Share your creations with friends and family, and don’t forget to leave a comment below telling us how it turned out. Happy cooking!

